‘Tis the season….in the spirit of the holidays, we’re bringing you the “12 Days of DCIM”: a look at 12 days in the life of an engineer who goes from zero documentation to using DCIM software.
Day 1:
♫ On the 1st day, my boss gave to me: a network without documentation and a whole lot of worry. ♫
On the first day, you’re trying to manage the network without proper documentation in place. The problem? You can’t manage what you don’t know. You can’t fully decommission assets and connections. You can’t optimize power. You can’t plan for capacity. You’re wasting valuable time and money troubleshooting, dealing with downtime, and fielding IT bloat.

Day 2:
♫ On the 2nd day, my boss gave to me: netTerrain DCIM…finally! ♫
On the second day, your boss pulls you into his office with an announcement: he’s purchased a DCIM solution and he hands it off to you to implement. You’re excited to finally be able to document the network…automatically. But where do you begin?
Day 3:
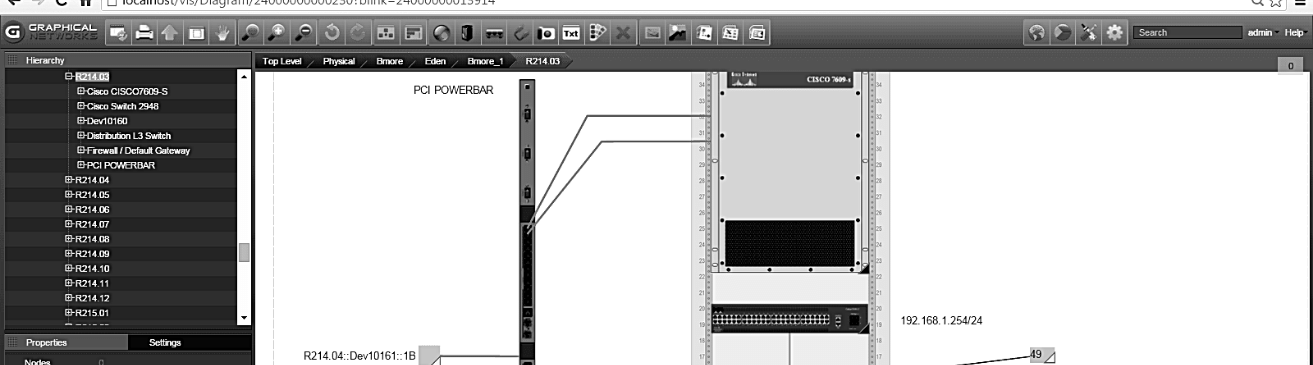
♫ On the 3rd day, I setup netTerrain with locations and a nice hierarchy so we can know exactly where our equipment is stationed. ♫
On the third day, you take the plunge. The first thing you need to do is to set up netTerrain with locations and a hierarchy that will make finding equipment easy. In the past, you’ve worked with DCIM solutions that only provide two or three prefab layers; with netTerrain, you’re pleasantly surprised. You can easily create an unlimited amount of hierarchies and layers – you are able to navigate from the global view all the way to card and port views. With this level of flexibility, you are able to see your IT assets in a number of different views, and give your different stakeholders the level of access they need.
Day 4:
♫ On the 4th day, I imported my current data that was in a spreadsheet into netTerrain saving me time and effort. It’s pretty neat. ♫
You’re very happy to discover that there’s no data entry required on your part: netTerrain is a DCIM solution that makes importing your existing data into DCIM as simple as just a few clicks. You can import any database, static drawings, spreadsheets, and text files with a couple clicks.
Day 5:
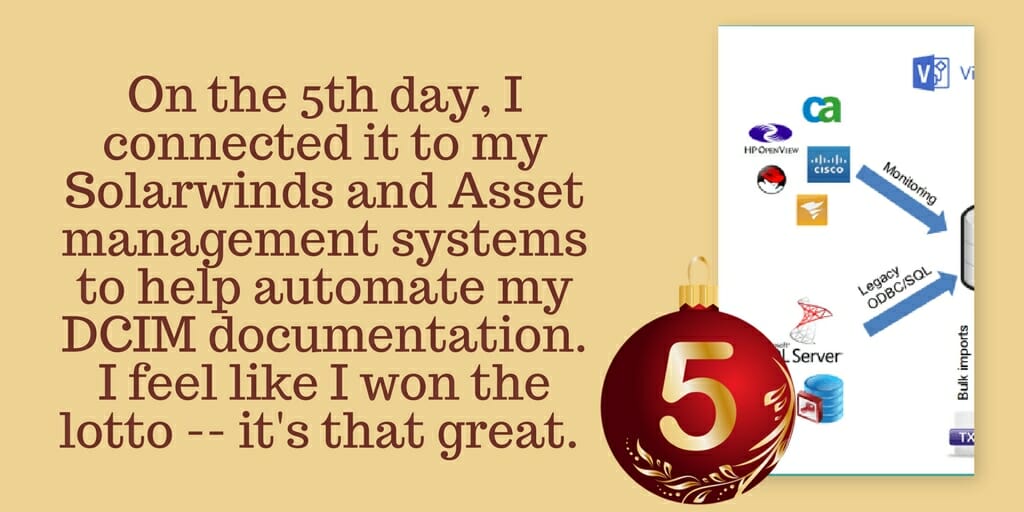
♫ On the 5th day, I connected it to my Solarwinds and Asset management systems to help automate my DCIM documentation. I feel like I won the lotto — it’s that great. ♫
Connecting your Solarwinds and any asset management systems to DCIM is easy. You now have all of the data from your systems communicating with netTerrain — in real-time.
Day 6:
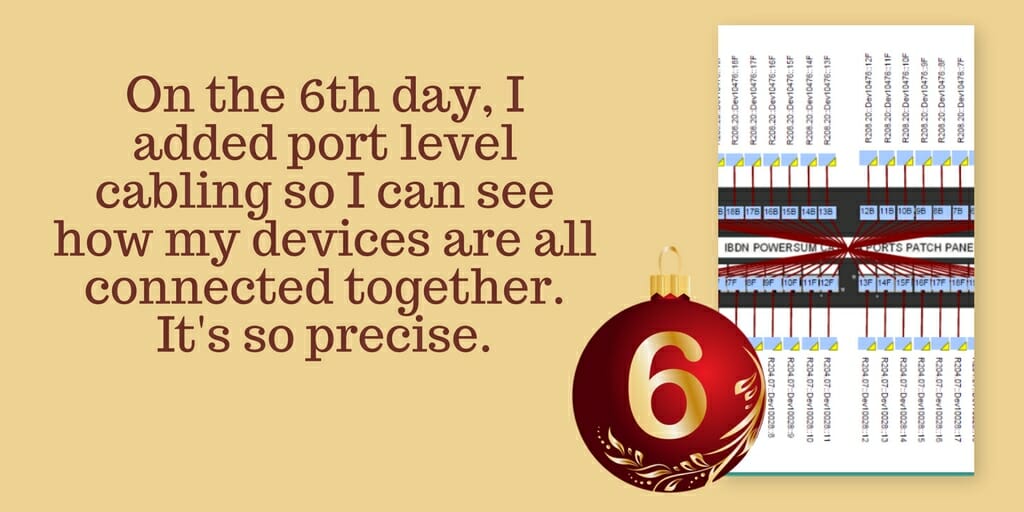
♫ On the 6th day, I added port level cabling so I can see how my devices are all connected together. It’s so precise. ♫
You can visualize your cables and circuits with DCIM. You can say goodbye to tracking your connection documentation with Visio diagrams and/or out-of-date spreadsheets. No more slow troubleshooting because your circuits can’t be traced and no more stranded ports thanks to fiber connectivity not being fully decommissioned. Finally: you can seamlessly track all of your cable and circuit changes.
Day 7:
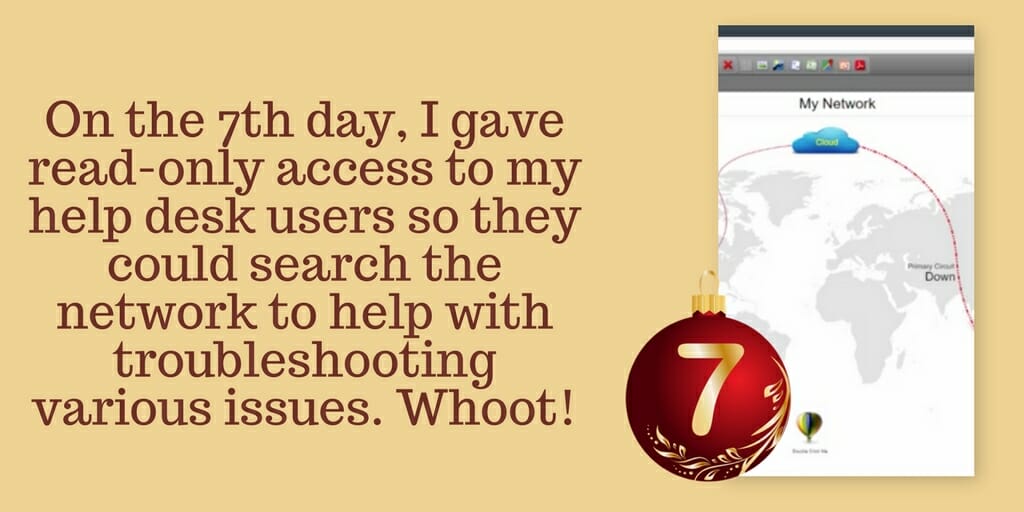
♫ On the 7th day, I gave read-only access to my help desk users so they could search the network to help with troubleshooting various issues. Whoot! ♫
Security is always a top concern: with netTerrain, you have a granular, multi-role security scheme that supports SSL, Active Directory, and so on. You can choose from 8 different access roles (both AD and FIPS compliant) that are each configurable on a per-diagram basis.
Day 8:
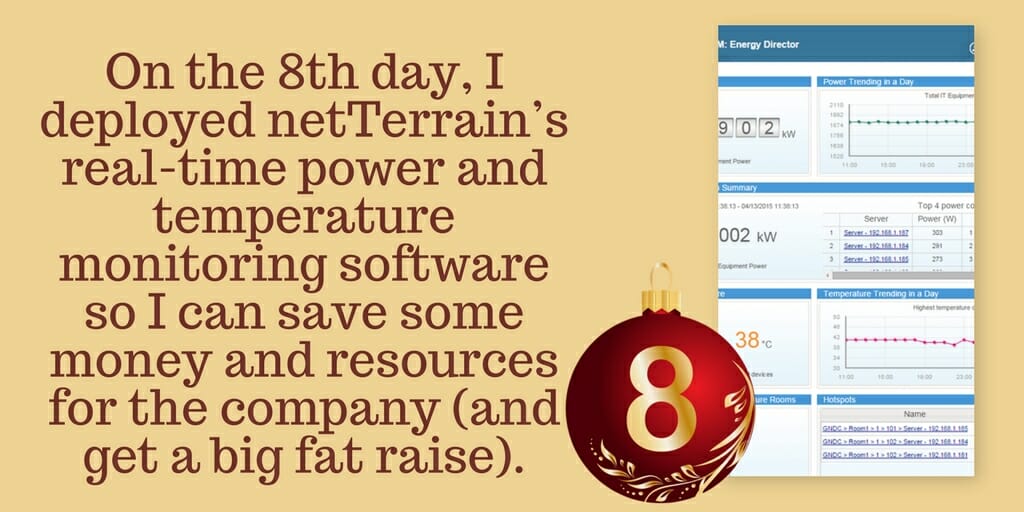
♫ On the 8th day, I deployed netTerrain’s real-time power and temperature monitoring software so I can save some money and resources for the company (and get a big fat raise). ♫
netTerrain gives you control over your power. You’ll enjoy real-time power monitoring functions give you agentless, easy integration. With netTerrain DCIM-EM, the average data center power consumption and cooling resources is reduced by as much as 30%.
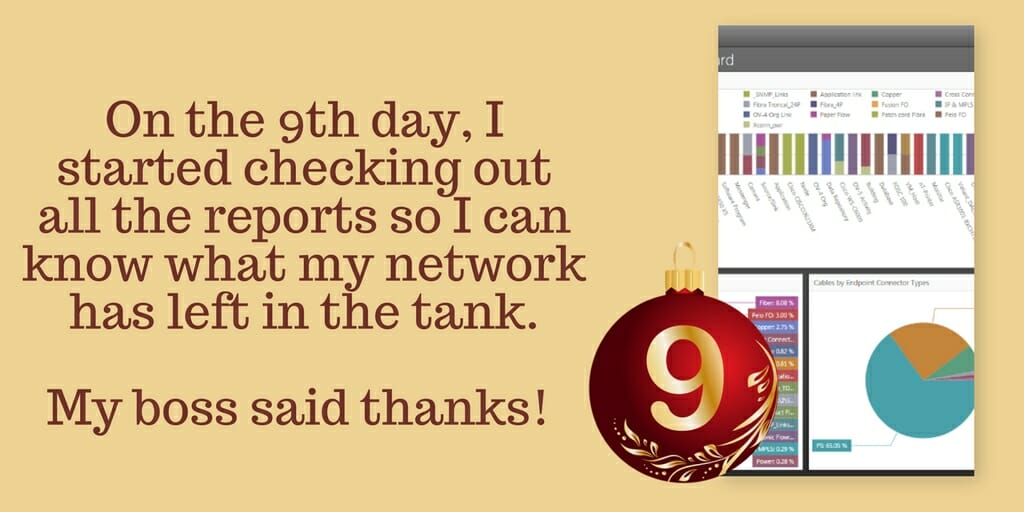
Day 9:
♫ On the 9th day, I started checking out all the reports so I can know what my network has left in the tank. My boss said thanks! ♫
With netTerrain, getting the reports you need to manage the network is simple. You can pull up netTerrain’s dashboard and create any custom report you need….or you can just ask us to create it for you (we’re always just a ticket, a call or an email away). Either way — you get fast, hassle-free insights.
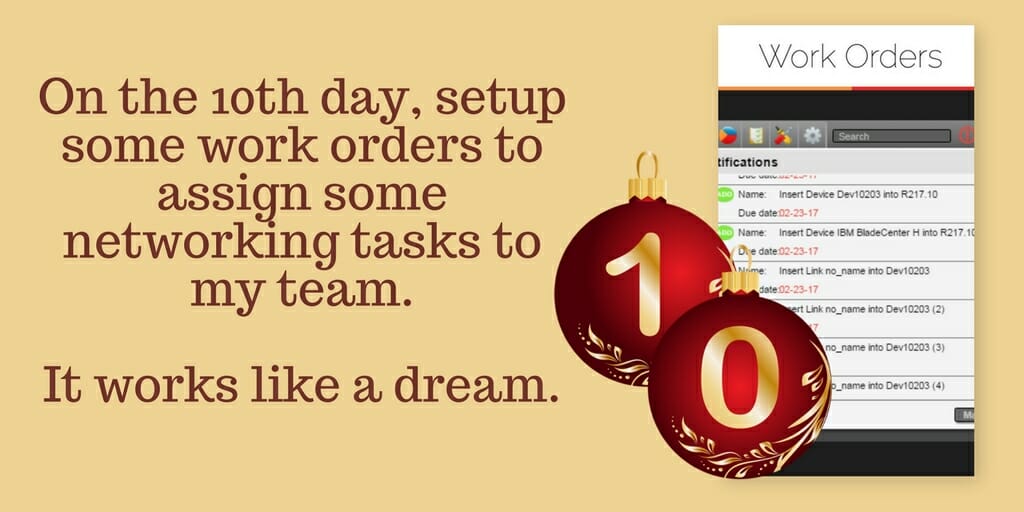
Day 10:
♫ On the 10th day, setup some work orders to assign some networking tasks to my team. It works like a dream. ♫
With work order management in DCIM, you can create and schedule tasks (with due dates, status updates, and owners). You have a handy dashboard from which you can create, view, assign, reassign, and schedule tasks. You can get notifications when tasks are created or finished: you can create reports around your tasks. On top of that, you can view the network in both its current, and its planned (based on scheduled tasks), states.
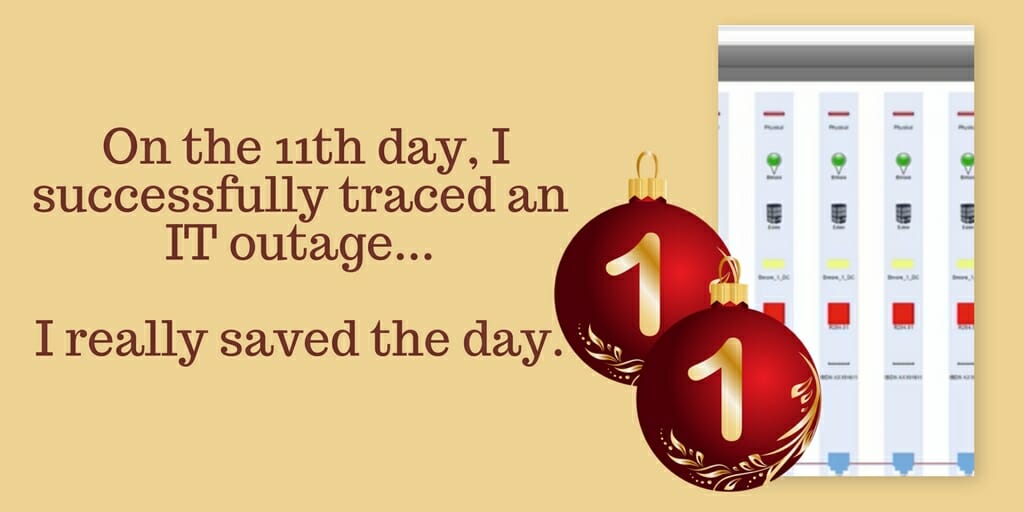
Day 11:
♫ On the 11th day, I successfully traced an IT outage…I really saved the day! ♫
On the 11th day, things get exciting. You have an IT outage that you need to solve…fast. To get the job done, you just open up netTerrain DCIM and generate a detailed physical path trace — aka the circuit layout record (CLR). With this, you can see the connection’s endpoints (and what’s connected to those and so on). It just takes a single double-click to generate your up-to-date CLR.
Day 12:
♫ On the 12th day, I went home on time…because now I am managing the network and not letting it manage me. I’m out of rhymes. ♫
Enough said.